May 1, 2011

Pillow Talk

there are feathers littering my living and family rooms. feathers are pretty good fun for little girls. they are a favorite with all three of mine, ages 1 to 4. there's all kinds of things you can do with them: blow them up in the air, tickle each other, pretend we're dumbo and flying, eating them...(the one year old. hey, if it's on the ground, it goes in the mouth. luckily, they don't go down easy and she spits them back out pretty quickly). my oldest even collects them with the intention of building a bird, i think. it's a pretty versatile item! unfortunately, what they can not seem to do...is disappear. really, do i want these little things all over the floors? every time i vacuum, i feel like i've finally gotten them all. then i look in the room a few minutes later, and there's more!

these entertaining little buggers are from a couple of old throw pillows that a former coworker gave me. they are rather ugly and, obviously, a bit worse for the wear, so i have been letting the girls have their way with them (hence the constant flux of feathers). however, i have lately been looking for a love seat to put in my living room. the ones i've been considering do not come with accent pillows. my designer friend has recommended that i get some to add more color to my room. well, i don't know if you've ever looked at pillows in stores, but a 2x2 pillow is easily $15, and i need 2 to 4 of them. that's at least $30 to $60, quite possibly more! for pillows! why? all they are is a couple squares of fabric sewn together and stuffed with fluff! true, i don't really sew, but how hard could it be? it's just a few straight lines. i can totally do that, and it won't cost me $15 a pillow!

the plan:
i would simply recover the existing feather emitting pillows. in fact, i have two other accent pillow that came with my couch that i wouldn't mind seeing in different clothes, too. observe the contenders:

so i headed out to Hobby Lobby to look at fabric. because i am "all things craft impaired", i took one of each pillow with me to have the professionals measure and tell me how much fabric i needed. i can only assume that there are others out there like me, because they did so without blinking an eye. so after puzzling over style, print, texture, and design, i finally settled on these:


already, i think i'm ahead. the fabric only cost me $16 for all four pillows.

so here's something i learned that people don't tend to tell you in online tutorials: pre-wash your fabric before you start cutting and sewing. apparently shrinking could be an issue.

on with the show.

now that i had the fabric, i began having delusions of grandeur. that's the problem with the "how hard could it be" mentality. a few small successes can easily go to your head and start making you feel a bit big for your britches. with fabric in hand, in the middle of a craft store, i made some grand plans and started - gasp - designing. at first, it was only in my head. but later, i actually drew some pictures, making a very amateurish pattern (i drew a square and a few lines...and not to scale...or even straight lines. all in all, i think only cavemen would be impressed, and only because i used a pen rather than a rock on stone). i remembered seeing this post on making a baby blanket and thought "hey, that would be kind of cool to simplify and use for my pillows". i would make two layers on the front, then cut the top layer in strips so the bottom layer could "peek" out. simple. i mean, there it was right there, showing me how to do it. on a diy blog. so i could diy it, right? well, the big difference between myself and the author of that blog is: she know what she's doing. i, conversely, do not.

but i do have the secret to diy projects for we less-craft-capable people: friends.

so i exchanged babysitting services for help with sewing from a friend who has some nifty tools that made this job a lot easier: a cutting mat, rotary cutter, and a clear gridded ruler. she also had another good tip when it comes to sewing: never sew TOWARD a seam. it can cause "bunching". and also, for pillows like these, leave the opening on a side, not a corner.

so my friend made sure my squares were cut evenly and even drew the diagonal lines for me to sew on (definitely do this. almost impossible for less experienced crafters to do it otherwise).


then i pinned the two layers together, and sewed on the lines.


next, i cut the top layer between the newly sewn seams (i couldn't decide which to make the top and which to make the bottom, so i did one of each). simple. quickly stitched the back to the front and came up with this:


i tossed them into the wash to get a more textured effect.

now, if you look too closely, you can still see the pattern of the pillows through the new fabric on the back. i figure you can either go back and add another layer to it, or slip some batting in.


then i used some liquid stitch to seal up the side.


the other two; the ones that started it all; the molting ones that have given me carpal tunnel syndrome from constant vacuuming...well, they would be much easier. my friend with the cool toys cut them for me again and all i had to do was sew a few straight lines and liquid stitch them.


and voila! my new pillows!


bottom line: this was a relatively easy project. all you need is a sewing machine (whether you really know how to use it or not), some fabric, and time. i won't lie to you, i did this over a few days. if you don't have young children and a house to clean, meals to cook, and errands to run, you can probably get it done a lot faster. you can get exactly the colors and style you want and save yourself a bundle. a definite DO for any skill level.

April 18, 2011

The Naked Wall

so i have this wall above my couch. it's a pretty big wall and very, very empty. in fact, it's naked. when people come over, i see them trying to discreetly avoid staring directly at its nakedness. a little embarrassing, really. it's been there for about three years now, so i thought it might be time to dress it. being design impaired, i had no idea what to put there, so i turned to my trusty companion: google image. have you seen these?


i am not what you would call a "nature" kind of person, though i do love big windows to look out at the world from. but i really liked these images and thought it would look great on my naked wall. but, as usual, i was rather shocked and appalled at the price of these, and then you still have to put it on yourself (it's vinyl). the other option is to pay out the nose for someone to paint it on the wall for you. but looking at it...it looks so simple, right? i mean, it's not real detailed, just a silhouette. i could definitely do that!

the plan:
i would rather have the effect on canvas rather than directly on my wall for a more tidy look. and i always kind of liked the whole "taking one image across multiple canvases" effect. don't ask me why, i don't have the proper artsy lingo to make it sound intelligent. i just do! so i would use three or four large canvases, paint, and vinyl. i have a friend with a silhouette sd, so the image, itself, shouldn't be too difficult. so, all in all, should be pretty easy!

plan change #1:
canvases that large are really expensive. so i decided on plywood panels instead. easily found at home depot.


plan change #2:
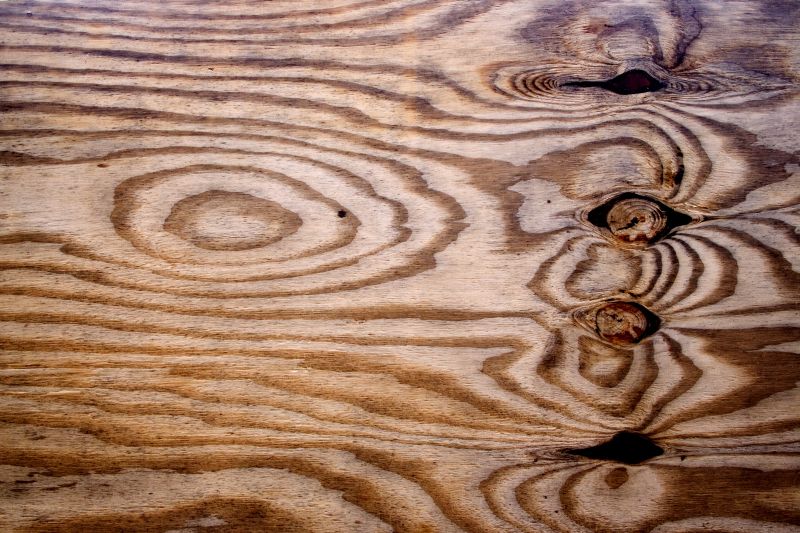
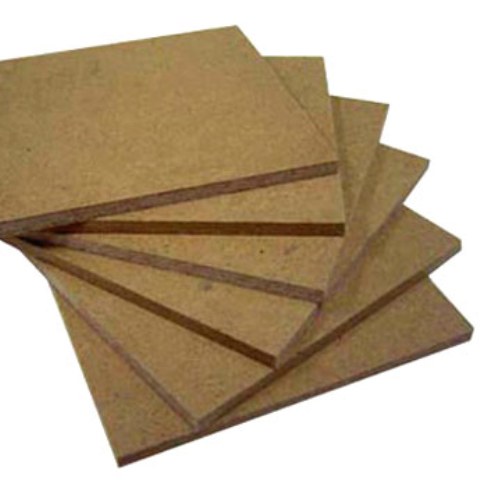
the plywood was too rough of a surface and had a lot of flaws (knot holes, chips, ect.). so i decided on mdf. also easily found.


plan change #3: (i apologize for the lack of pictures beyond this point. i did this before i decided to start the blog, so it didn't occur to me to take pictures during the process.)
as i discussed this project with friends who know more than me about crafts (that could be anyone, but this particular group included people who use vinyl on a regular basis), it was mentioned that i should use freezer paper instead and make a stencil, then paint the image instead. sounded a little out of my league...but then, most craft issues do. i decided to try it, though, because, really...how hard could it be?

**note: freezer paper, as i learned in the middle of this process (the shopping part), is not something you find in craft stores as you might expect. do not go to hobby lobby in search of it, and do not ask the employees there for assistance finding it. not that anyone would do that....just sayin'.

so, with my three panels cut (2.5 x 4), i simply painted them a solid background color (i chose a light blue). i bought an image off of the silhouette website and a couple bird images off the internet and had my friend use her silhouette sd to cut them out.

plan change #4:
the silhouette board was not big enough to use the freezer paper. so we ended up using vinyl without the board for the branches and the freezer paper only for the leaves, flowers, and birds. normally, you would keep the cut outs from the silhouette, but we tossed that part and used the "scrap" as a stencil to paint on.

**note: the silhouette sd is not recommended for images longer than 3 to 4 ft. mine was a little over 7ft, and there were quite a few flaws that needed to be fixed with free handing later.

we put the panels together on the floor and laid the vinyl stencil on, filling in the cut out space with the brown paint. then we ironed the leaves and flower stencils of freezer paper (wax side down) in various places. the freezer paper was good in that it was reusable, but we ran into a problem with the iron leaving marks on the background paint. it took a lot of touch up to cover it back up. perhaps it would work better with a cover of some sort over the iron? we painted in all the stencils and then tried to free hand the rest that we could get a stencil for. luckily, my friend is a much better artist than i.

because the vinyl does not stick as well as the freezer paper, the edges of my tree were rough. i went back with the blue and a smaller paint brush and made the lines cleaner.

i am pretty pleased with the final result:


all together, including the craft paint (i already had the blue paint from when i painted my bedroom), this project cost about $35. totally worth the time and effort to save the hundreds a real art piece this size would run! i would definitely recommend trying it should your walls be suffering nudity.

April 11, 2011

Looking Good

i hate to sound superficial, but it really does matter. all the others seem to come by it so easily! but i'm here to tell you, it's not as easy as it looks! you have to have the right style, the right colors, the right...spacing. yes, people, having a good looking blog page is very important. wait...what did you think i was talking about?

when i decided to start a blog, i figured it would be easy enough. it was not my first ride on the merry-go-round, after all. i have a family blog and have been part of a group theme blog. and blogs are the new black, so to speak. there's one for everything you could need! and quite a few that you probably don't. so i figured with everyone doing it, how hard could it really be? it would be no sweat to get up and running.

i was wrong.

yes, the typing and the subjects are not an issue for me. in fact, i've had about four sitting here, finished but unpublished, for about three weeks now. why, you ask? because i suck at designing a blog page. this was a major set back. when you think about it, that's the most important thing about a successful page. it has to be rather eye catching, but not too loud or distracting. it has to catch the reader before the subject does. people do judge a book by its cover, regardless of the warnings not to. let's face it, there are so many blogs out there that you could go to, why stay on one that hurts your eyes? oh, the pressure!

when i started to look through the templates for blogger pages, nothing was clicking. so i searched for something else online. still no luck. i tried different photos for a background, plain backgrounds, patterned backgrounds. nope. nothing was working. i have no eye for design, it would seem. shocking, i know.

i finally got some help from my technologically sound husband who found a decent template for me (how did i not see that one?) and i chose my colors for the text and whatnot (how many freakin' things are there on this page that need a color?!). then i was faced with a boggling question: how do you center the blog title? for some reason, i couldn't get this darn thing to center! there was no option to choose alignment. i tried adding spaces, but they just disappeared. i looked online for answers and nothing i saw seemed to work (or make much sense.... i even tried to read all that html code stuff. not pretty, people). it was hopeless! finally, i had to rely on the old dash trick. add a few dashes on either side of the title until you have it exactly (or at least close enough) to where you want it to be. does it add to the beauty of the page? not so much. but it was the lesser of two evils.

bottom line: leave this one to people who know. don't try this at home. for now, i'll leave the results of my blundering up as a warning and example. eventually, i'll get it fixed up. i'll let you benefit from my mistakes.